How to create an email signature in Outlook

Jun 24, 2022
 250
250
This Knowledge Base article will demonstrate the steps necessary to create an email signature within Outlook.
**Outlook on iOS/Android has its own settings interface for managing signatures; this article applies to Outlook on your Windows PC**
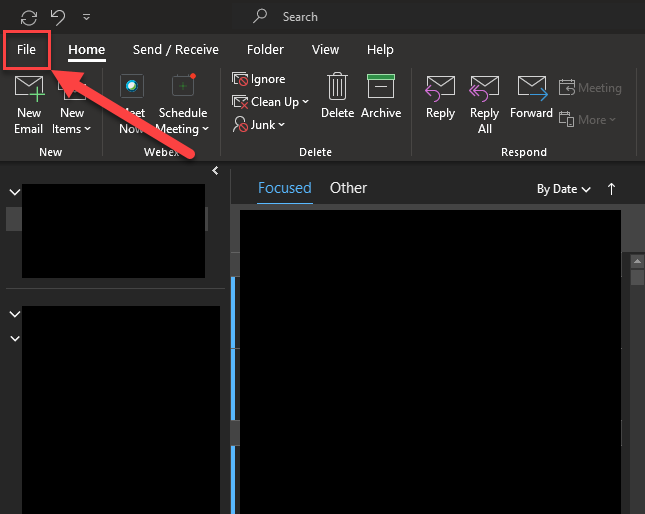
Step 1. Within Outlook, locate and click on File in the top left corner.
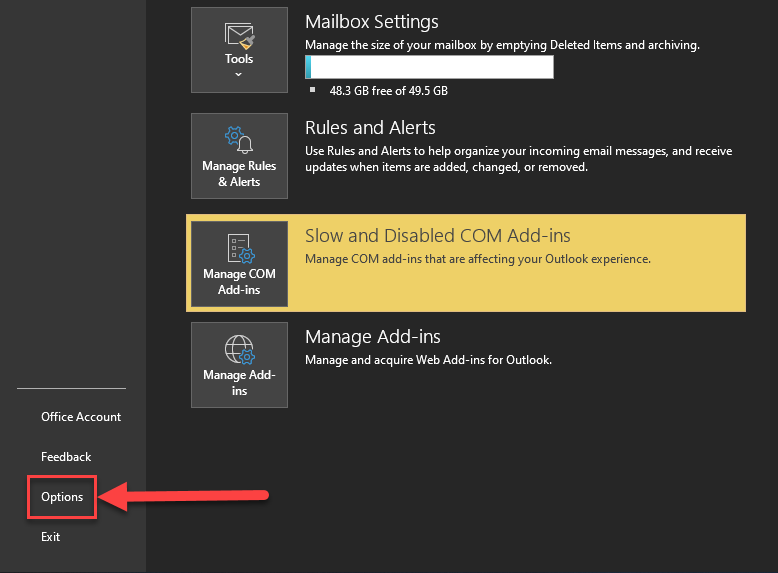
Step 2. In the resulting window, click Options in the bottom left corner.
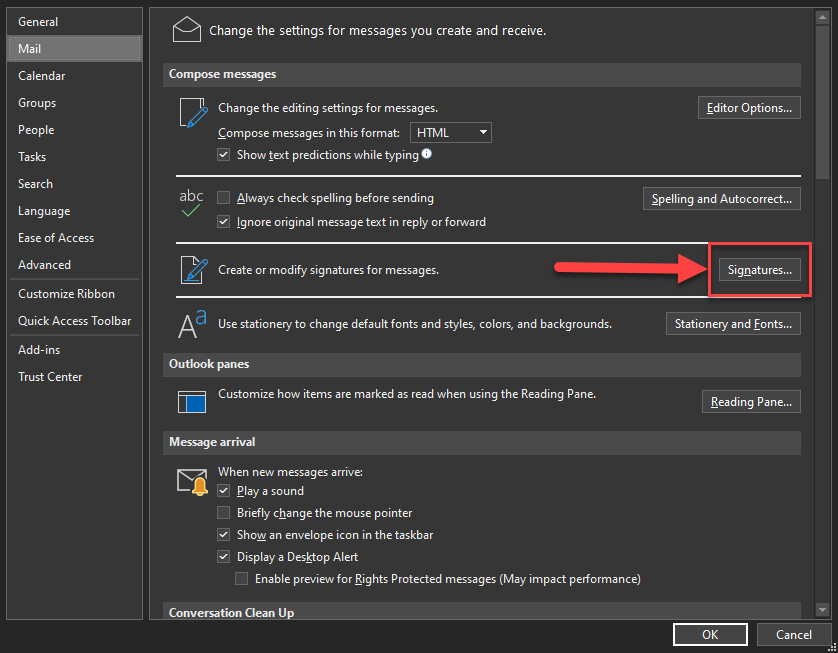
Step 3. In the resulting window, click Mail in the top left corner.
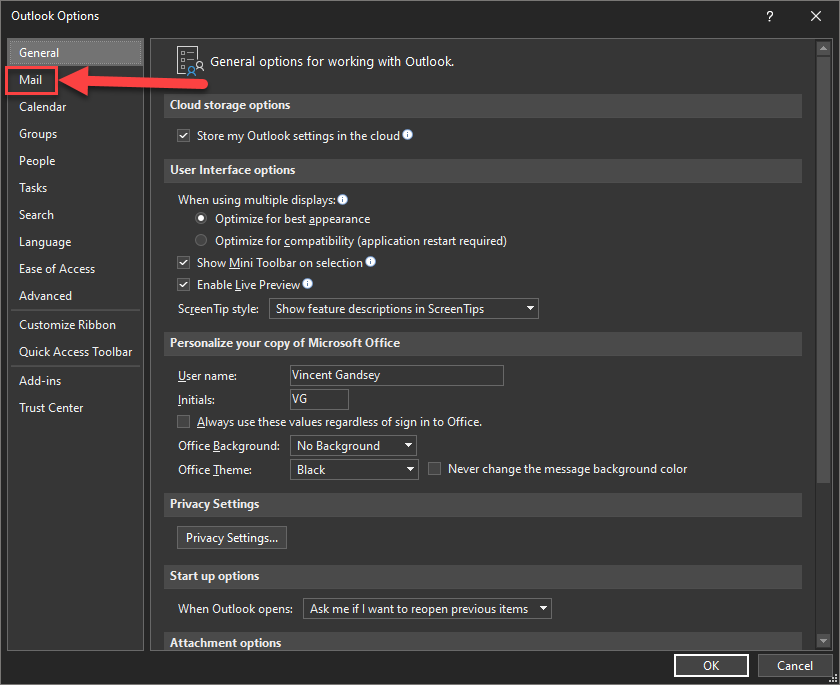
Step 4. Click the Signatures button.
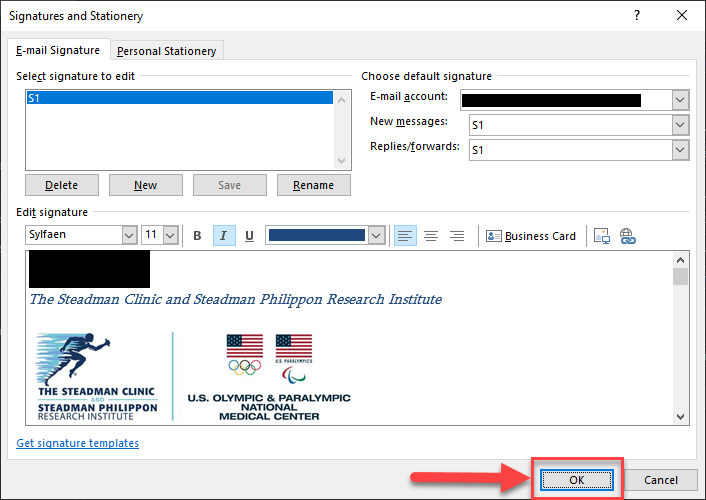
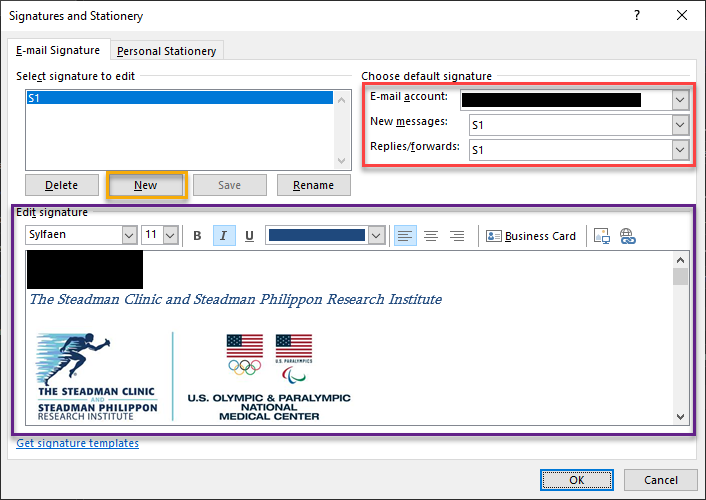
Step 5. The resulting window is where you will create/manage/edit your signatures.
- The New button, indicated by the GOLD box, will allow you to create a new signature.
- The default signature section, indicated by the RED box, will allow you to assign your signature(s) to specific email addresses, as well as new emails vs. replies/forwards
- For most users, it's a good idea to have one universal signature assigned to all manner of emails you may send out.
- The Edit Signature section, indicated by the PURPLE box, is where you will create the actual signature you'll send out with emails.
- Your name, position, and the Steadman/SPRI logo are required, while additional info such as a phone # is discretionary based on workflow.
Step 6. Once you've configured your signature(s) the way you want, click the OK button and you are all set.