
 47
47
This Knowledge Base article contains informative documentation about ProofPoint, our email security platform, specifically the email tags one will see, as well as a way to report suspicious emails.
**These articles are meant to help you familiarize yourself with ProofPoint's features**
**ProofPoint has replaced Zix, so becoming aware of the differences highlighted below is paramount to your workflow**
**As always, should you be unsure of a specific email, please hesitate to take action with it; rather, reach out to IT directly at [email protected]**
Email Tags / Report Suspicious Emails
*The following applies to inbound emails only!!
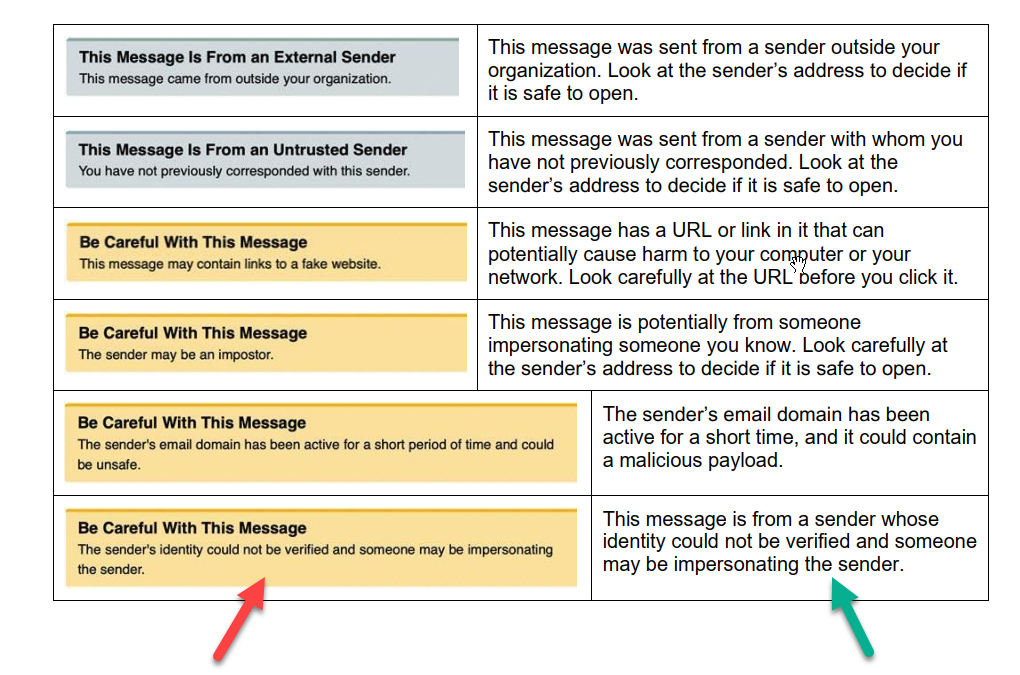
The messages in the left column, as noted by the red arrow, are the messages that will be displayed as a banner in an email that did not originate within our organization, while the right column, as noted by the green arrow, is a detailed description of what each banner denotes; the banner presented will be determined by the factors outlined in the corresponding column.
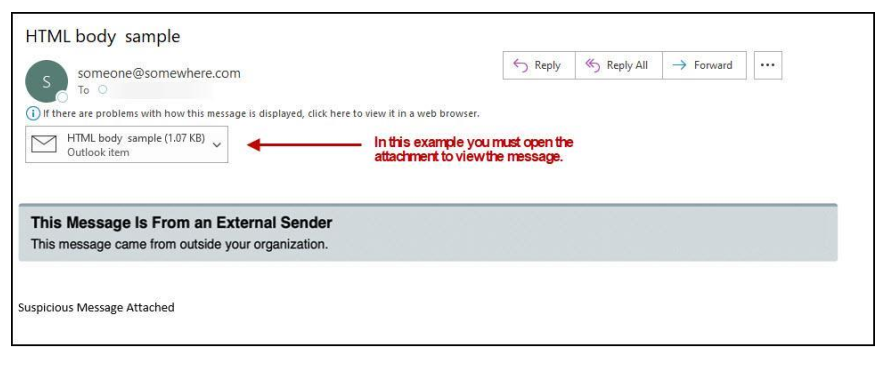
Note: In some instances, the banner may not appear; rather, it will be an attachment to the email, as determined by the sender's outbound email settings. This can be seen in the example below.
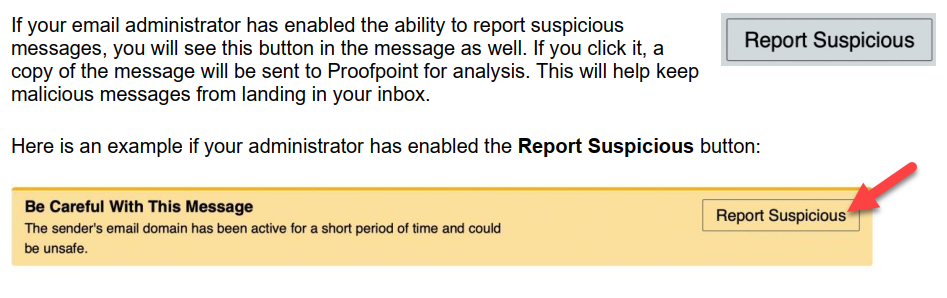
We will also be including a feature within ProofPoint that allows you to easily flag suspicious emails. It can be seen below, as noted by the red arrow, in the form of a "Report Suspicious" button located within the warning banners tied to external emails you receive. Should you believe an email is suspicious, please use this button before you interact with said email in any way!
A final reminder: Should you be unsure of any emails you receive, please DO NOT take action with said emails; rather, reach out to IT at [email protected] and we will assist.

